Sometimes when you have a web application or page, the users or visitors may want to contact you. For this, instead of leaving your email on your platform, you can provide the best user experience for users by giving them a specific page that could simplify the process.
This is where the email sending service intervenes, which is a service that uses serverless compute (AWS Lambda) and AWS SES (Simple Email Service). So with serverless, you don’t take care of the underlying compute resources, you just focus on writing your source code, and with AWS SES it makes the process easy and quick to implement.
In short, this article describes in detail how to implement an email sending service quickly and securely🙂.
Set up a node Project
1. Initialize
$ npm init
2. Install dependencies
$ npm i typescript aws-sdk claudia-api-builder

$ npm i @types/node --save-dev
3. Configure Typescript
Add /tsconfig.json file with the configs below:
1
2
3
4
5
6
7
8
9
10
11
12
{
"compilerOptions": {
"outDir": "./build",
"rootDir": "./src",
"lib": ["esnext", "dom"],
"target": "es6",
"esModuleInterop": true,
"allowSyntheticDefaultImports": true,
"noImplicitAny": false,
"module": "commonjs",
}
}
Configure Claudia
Claudia is a tool that automates the deployment of AWS Lambda functions written in JavaScript and associated API Gateway configurations. It provides reasonable defaults, and it allows to get started quickly with Lambda-based microservices.
But we will use Claudia API Builder which is an extension library for Claudia.js, it allows us to use API Gateway as if were a lightweight JavaScript web server.
1. Add policy
A policy is an object in AWS that, when associated with an entity or resource, defines its permissions. The following policy permits us to send simple emails and raw emails with the SES service.
/policies/send-email.json
1
2
3
4
5
6
7
8
9
10
11
12
13
{
"Version": "2012-10-17",
"Statement": [
{
"Effect": "Allow",
"Action": [
"ses:SendEmail",
"ses:SendRawEmail"
],
"Resource": "\*"
}
]
}
2. Define Environment variables
Here we will manage environment variables in /env.json file, these variables will be available directly in configurations of our Lambda function.
According to the environment (production, development), you can set /prod.json and /dev.json files.
{
  "NODE_ENV": "dev",
  "TO_EMAILS": "exampleEmail@gmail.com"
}
Then with the /src/config/index.ts we will export these variables throughout the entirety of our project.
/**
  * Config file
*/

export const ENV = process.env.NODE_ENV || 'dev';
export const TO_EMAILS = (process.env.TO_EMAILS || '').split(',');
3. Add the type of claudia-api-builder
At the time of writing this article, there was no yet declaration file in @types repository for Claudia API Builder, so let’s create our own in the project folder /@types/claudia-api-builder/index.d.ts with this as content:
1
2
3
4
5
6
7
8
9
10
11
declare module 'claudia-api-builder'{
class ApiResponse{
public constructor(response : any, headers : any, code?: any);
}
export default class ApiBuilder {
public static ApiResponse : typeof ApiResponse;
get(uri : string, callback : Function) : void;
put(uri : string, callback : Function) : void;
post(uri : string, callback : Function) : void;
}
}
4. Add custom node Commands
To perform our actions in our project we have 4 commands for this
- npm run create : to create our function in AWS Lambda.
- npm run deploy:dev : to upload local changes to AWS Lambda of course for the development version.
- npm run deploy:prod : to upload local changes to AWS Lambda for the production version.
- npm run delete : to delete our function.
the /package.json should look like this:
...
  "description": "A lambda function that send email using aws ses",
  "main": "build/index",
  "files": [
    "build/**/*.*",
    "package.json"
  ],
  "scripts": {
    "create": "tsc && claudia create --api-module build/index --region us-east-1 --set-env-from-json env.json --policies policies",
    "deploy:dev": "tsc && claudia update --version dev --set-env-from-json dev.json",
    "deploy:prod": "tsc && claudia update --version prod --set-env-from-json prod.json",
    "delete": "claudia destroy",
    "test": "echo \"Error: no test specified\" && exit 1"
  },
  "author": "Ismael Messa",
...
Implement the sending Service
This service uses the AWS-SDK module to perform this task in question and makes the process easier. The /src/sesSend.ts file implements this logic:
Implement the Route
/src/index.ts
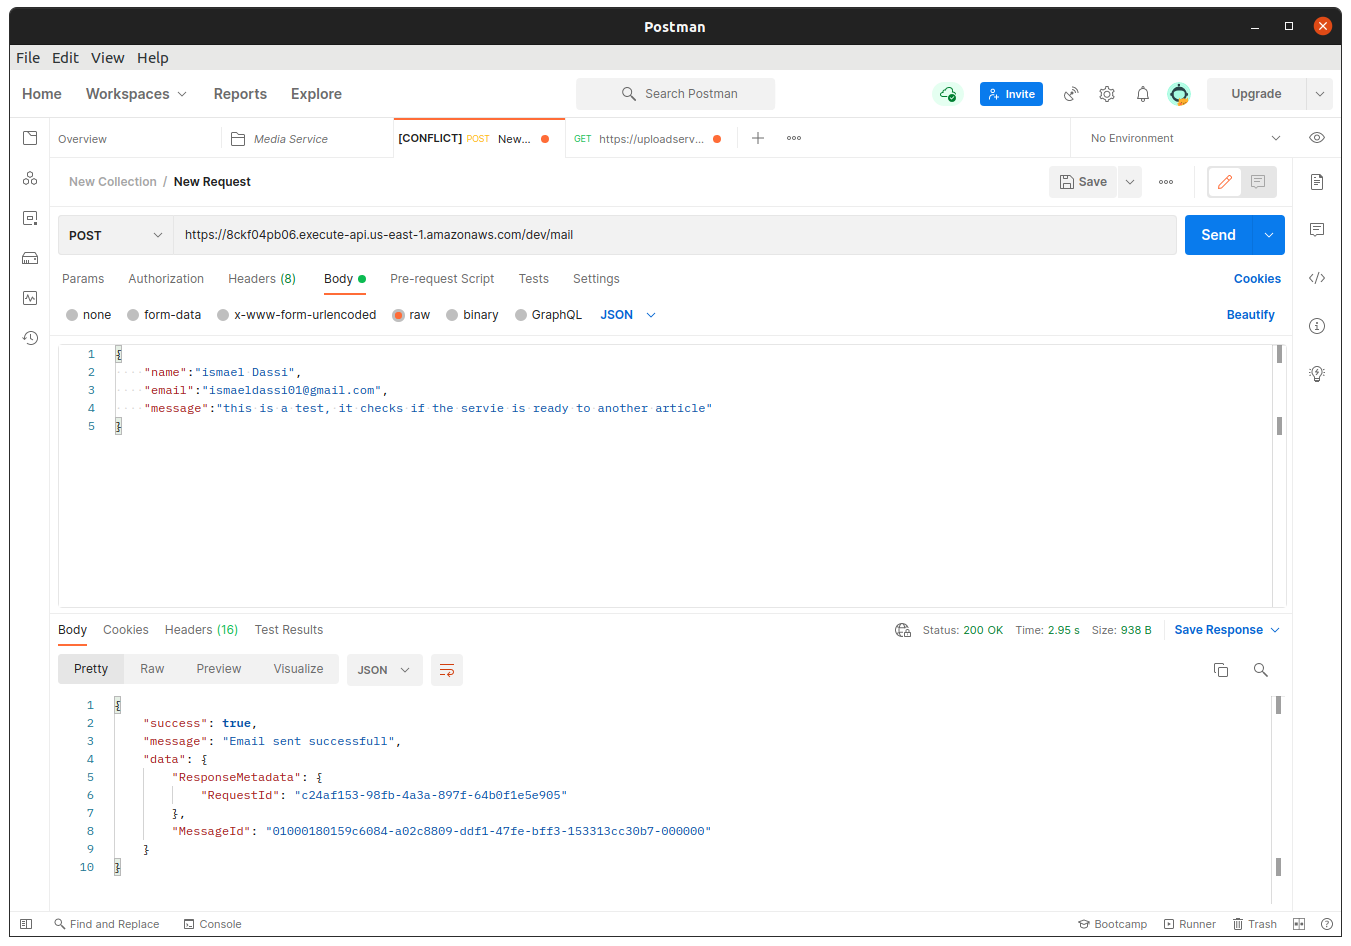
Test
To test we will use Postman, before going ahead and using this there are some configs to make according to the environment to use AWS SES:
- Dev : to send an email from a sender email to a recipient email, you need to verify both email addresses first using Verified identities in Amazon SES.
- Prod : in production, the idea is to allow any email address to send emails to any recipient’s email address. Enabling this implies Moving out of the Amazon SES sandbox.
now let’s go to PostMan:
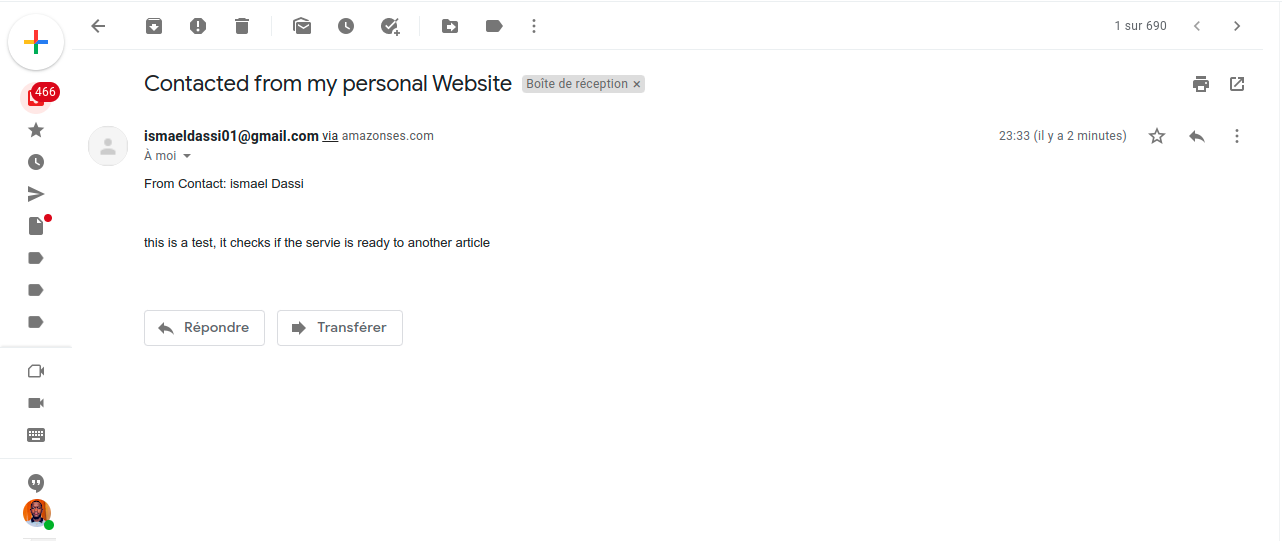
and in your inbox, you should receive an email like this:
Conclusion
To summarize, this article covered step-by-step instructions on how I implemented an email sending service using nodeJS. If it helped you, let me a clap/like/share Thank you 😉.
The original repository is available here.